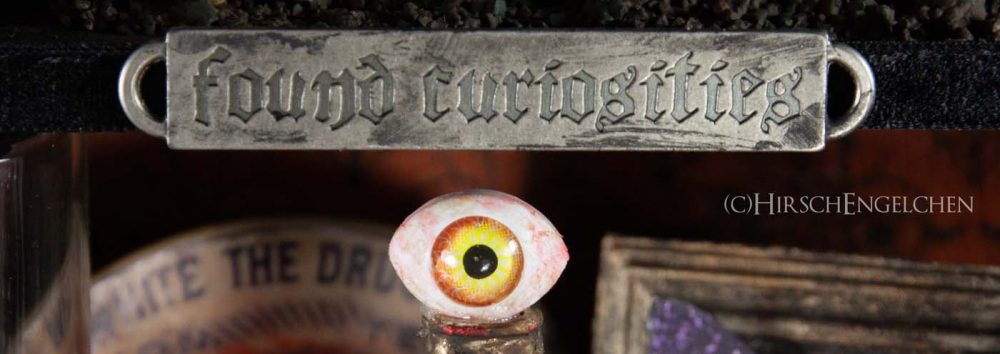
Heute wird es merkwürdig. Schräge Fundstücke sind im dritten Fach meiner spooky Halloween Diorama Decoration als Kuriositäten angesammelt. Wenn du Merkwürdiges magst, dann komm näher…
Today it will be really weird. Bizarre found somethings are hoarded as curiosities in the third compartment of my spooky Halloween Diorama Decoration. If you like oddities, come closer…
Gefundene Kuriositäten / Found curiosities
Wir schauen heute zum dritten Mal, was sich so in meinem spooky Halloween Diorama an Kuriositäten tummelt.
Today, we’ll take a look for the third time on those strange things that happen in my spooky Halloween diorama.
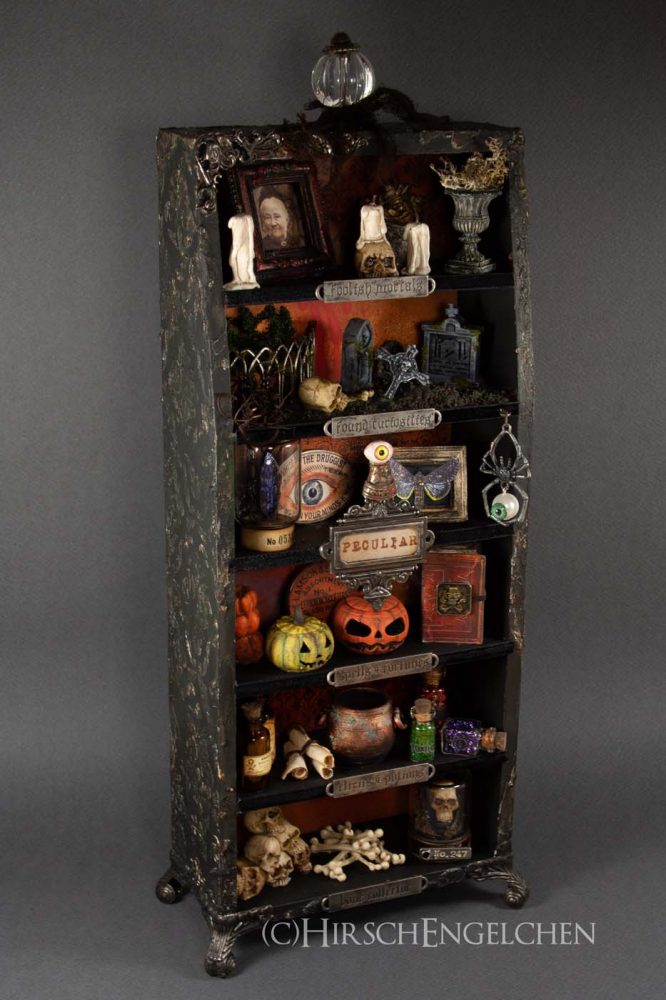
Hier haben sich allerlei Merkwürdigkeiten eingefunden. Schillernde Insekten und sonderbare Augen. Dann schauen wir doch mal etwas genauer hin…
Here you can find all kinds of oddities. Iridescent insects and strange eyes. Let’s take a closer look…

Igitt!! / Yuck!!
Auf dem Foto sieht die Spinne ziemlich groß und grauslig aus. Erwähnte ich, daß ich eine Spinnenphobie habe? 😉 Die Spinnenanhänger kommen auch wieder von Idea-Ology. Die Idee, diese Perle mit Hilfe einer Iris aus den Idea-Ology Creepy Eyes zu machen, stammt ursprünglich wieder von Tami Bastiaans. Du findest ihren Blog unter “Plays well with paper“.
That spider looks quite big and horrible on that photo. Did I mention that I am affected by Arachnophobia? 😉 Those spider charms are from Idea-Ology again. The idea to turn this pearl into an iris from an Idea-Ology creepy eye is originally from Tami Bastiaans again. You’ll find her blog under “Plays well with paper“.
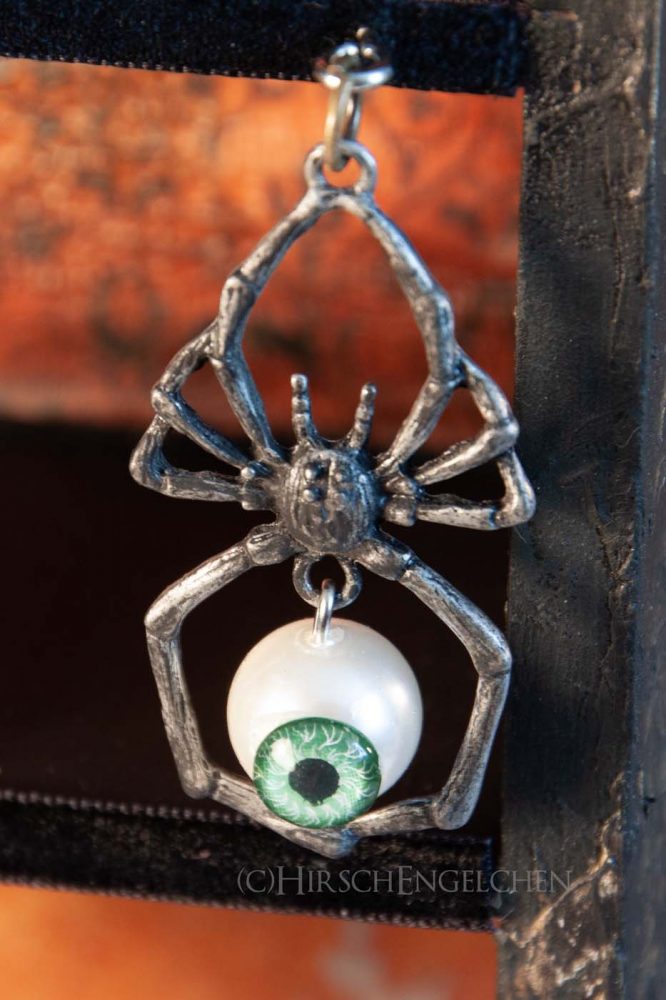
Die Iris habe ich aus einem Idea-ology Creepy Eye herausgelöst und auf die weiße Perle geklebt. Vorher habe ich noch die Spinne mit etwas schwarzer Acrylfarbe bearbeitet. Das Ganze ist mit einem Mini-Rundhaken am Gehäuse befestigt.
I took the iris from an Idea-Ology creepy eye and glued it onto the pearl. Previously I altered the spider with some black acrylic paint. I attached it to the box with a mini hook.
Gerahmter Schmetterling / Framed Butterfly
In die Kuriositäten Sammlung für mein spooky Halloween Diorama passen auch noch mehr Insekten. Hier habe ich einen Schmetterling aufgespießt, den ich gestempelt und mit Distress Inks coloriert habe. Was mal wieder leider nicht gut auf dem Foto zu sehen ist, ist der leichte Glimmer auf den Flügeln. Den habe ich mit einem Wink of Stella aufgepinselt.
You might know those insect collections. Here, I spiked a butterfly that I stamped and colored with Distress Inks. Unfortunately the delicate shimmer on the butterfly’s wings can’t be seen on the pic. I brushed it on with a Wink of Stella.

Einen passenden Rahmen hatte ich nicht mehr zur Verfügung. Also hat der GötterGatte den 3D-Drucker wieder angeschmissen und mal schnell diesen kleinen Rahmen gedruckt. Ich habe ihn dann nach der schwarzen Grundierung mit etwas goldenem Wachs überarbeitet. Den Hintergrund bildet einfacher schwarzer Leinencardstock.
I didn’t have any fitting frame. So my hubby turned on his 3D-printer again and let him print this little frame. After priming it with black I used some golden wax for the accents. Background is a simple black linen structure cardstock.

Hinten ist ein Stückchen schwarzes Moosgummi aufgebracht, damit die Stecknadel Halt finden kann. Ein Metallwinkelchen, das ich ebenfalls schwarz angemalt habe, hält den Rahmen aufrecht.
On the back there is a piece of foam rubber, to hold the fixing pin. A small piece of black painted metal keeps it upright.
Ein toller Käfer / No love bug
Und weil zur Insektensammlung auch ein schillerndes Käferchen gehört, habe ich hier ein schönes Exemplar eingefangen. Das Glas ist eine auf den Kopf gestellte Flasche mit Korken. Um den Hals, der nun als Basis dient, habe ich einen Streifen Papier geklebt. Die Nummer ist ein Rub-on von Idea-Ology.
And of course an iridescent little bug was needed for the insect collection. The glass is a bottle with a cork that I simply turned upside down. I glued a strip of paper around the bottle’s neck, that is in fact the base now. The number is an Idea-Ology Rub-on.
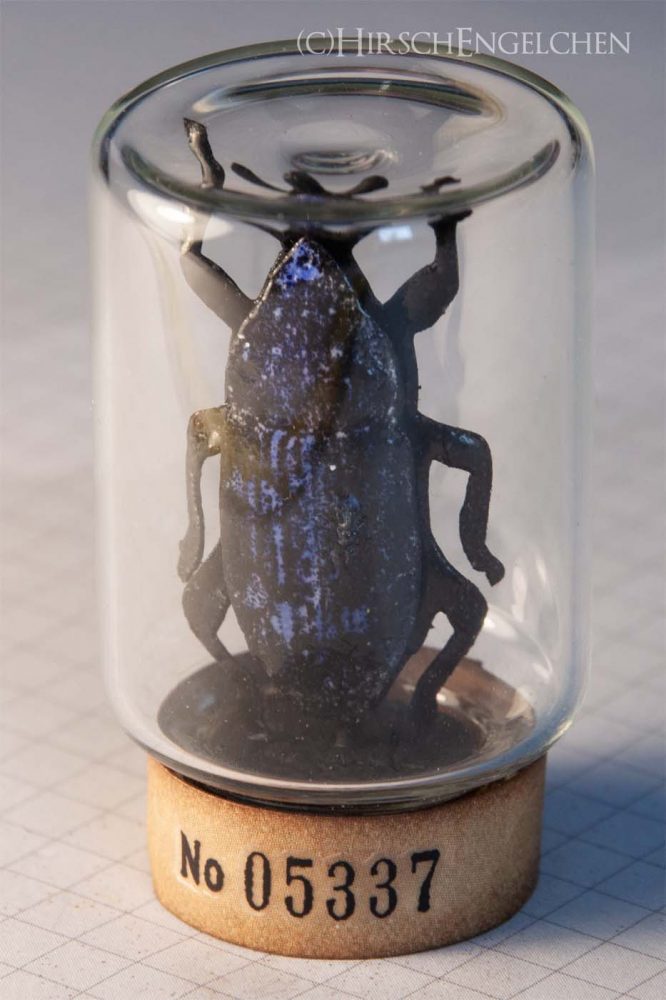
Den Käfer von Stampers Anonymous habe ich zweimal gestempelt. Seinen Körper habe ich ausgeschnitten und in leuchtendem blau eingefärbt. Dann habe ich ihn mithilfe eines Prägestifts von der Rückseite etwas rund geformt und zuletzt mit Glossy Accents überzogen.
I stamped the bug from Stampers Anonymous twice. Then I cut the body and colored it in bright blue. Afterwards I rounded it from the back with an embossing pen. Final finish came with Glossy Accents.
Schneide-Hilfe / Cutting aid
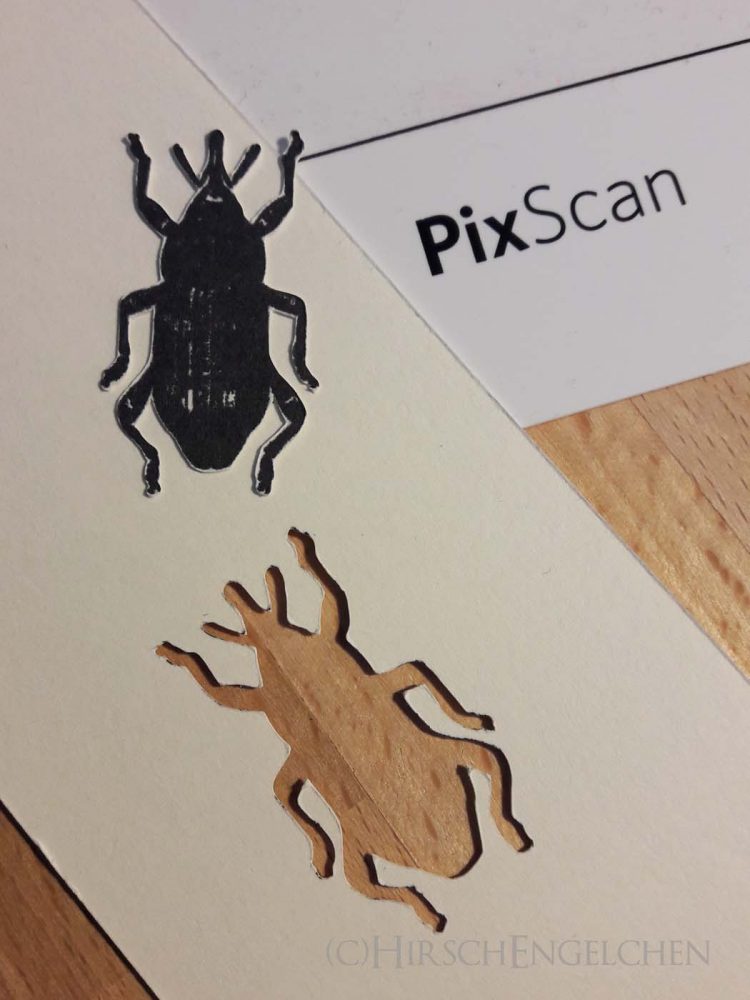
Den anderen Stempelabdruck habe ich mit der Cameo und der PixScan Funktion schön passend um die Beinchen ausschneiden lassen. Mit dickem Embossingpulver in schwarz habe ich dem Ganzen dann noch etwas mehr Dimension verpasst. Man sieht hier sehr gut, wie schön die filigrane Form aus dem dicken Mixed Media Papier ausgeschnitten wurde.
The second stamp was cut by my Cameo with PixScan feature. This went very well around the little legs. I added some more dimension with thick black embossing powder. You can see how well the delicate form was cut out of that thick mixed media paper.
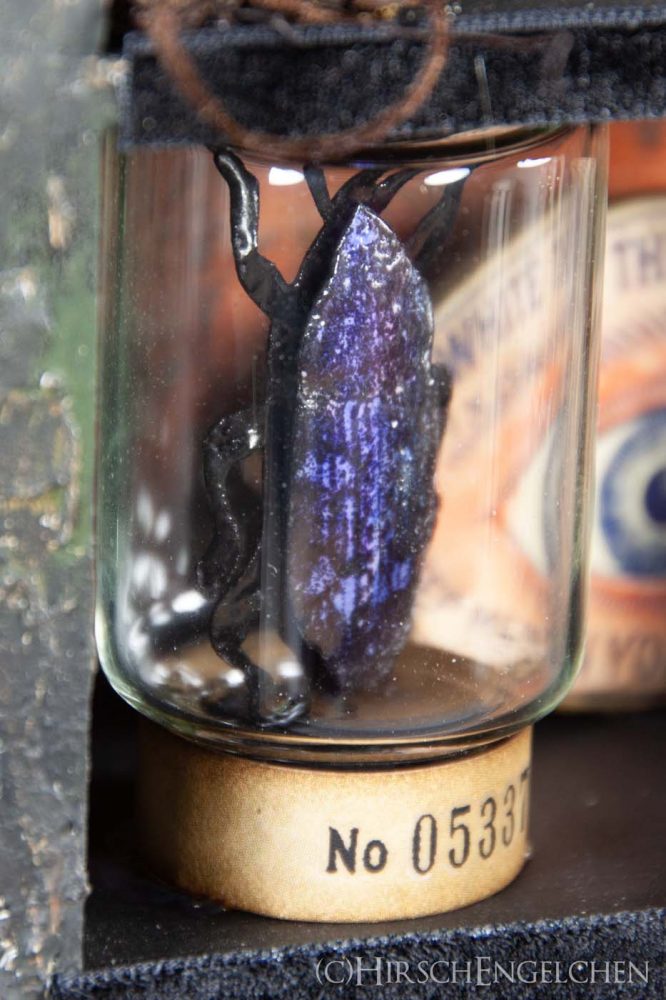
Anschließend habe ich den Körper mit Abstandspads auf das schwarze Unterteil geklebt und alles zusammen an einem Zahnstocher befestigt. Das Ganze ist dann im Korken befestigt und ich mußte nur noch die Glashaube darüber stülpen.
Afterwards I glued the body with some foam pads onto the black base and mounted everything together on a tooth pick. Now I only had to stick it into the cork and imposed the glass bottle on it.
Gruseliges Auge / Creepy eye
Eine weitere Kuriosität in meiner spooky Halloween Diorama Decoration ist das gruselige Auge. Ich habe es ein bißchen abgetönt und mir ein Metallteil aus meiner Schmuckzubehör-Sammlung geschnappt.
Another curiosity in my spooky Halloween diorama decoration is that creepy eye. I dulled it down a bit and grabbed a metal item from my jewellery accessories.
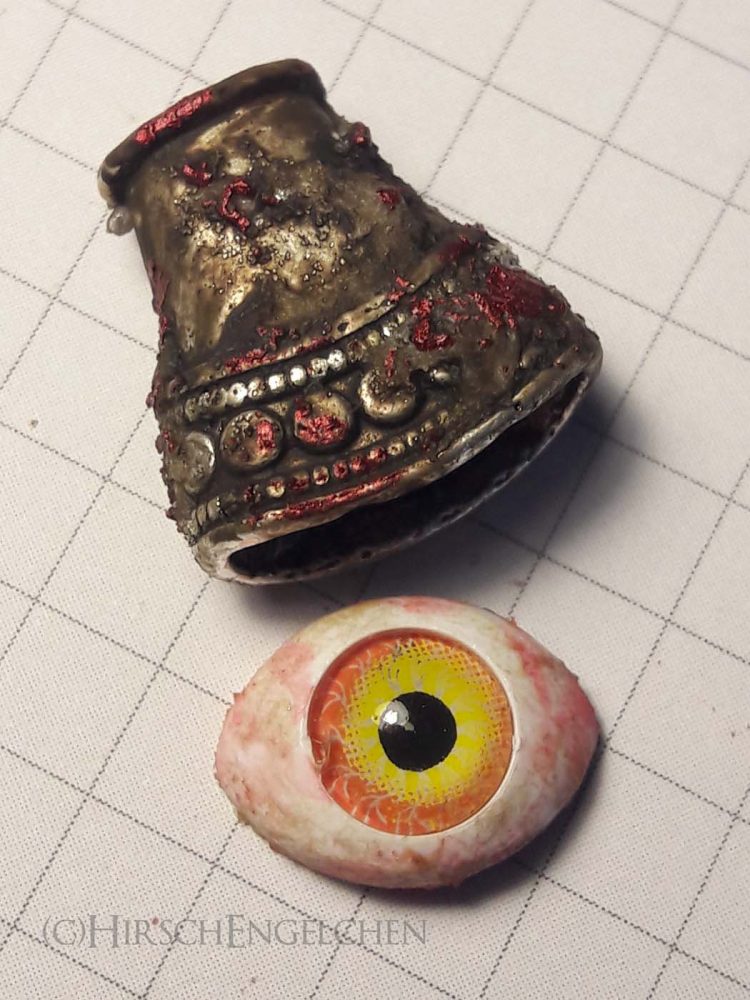
Das Metallteil habe ich dann mit Acrylfarbe, Distress Grit Paste translucent und rotem Metallic Wachs bearbeitet. Der Look gefällt mir total gut. Beides zusammen habe ich dann auf dem “Peculiar” Label befestigt.
I used some acrylic paint, Distress Grit Paste translucent and Finnabair red metallic wax for aging. I really like that look. Everything was glued together and mounted on that “Peculiar” label.
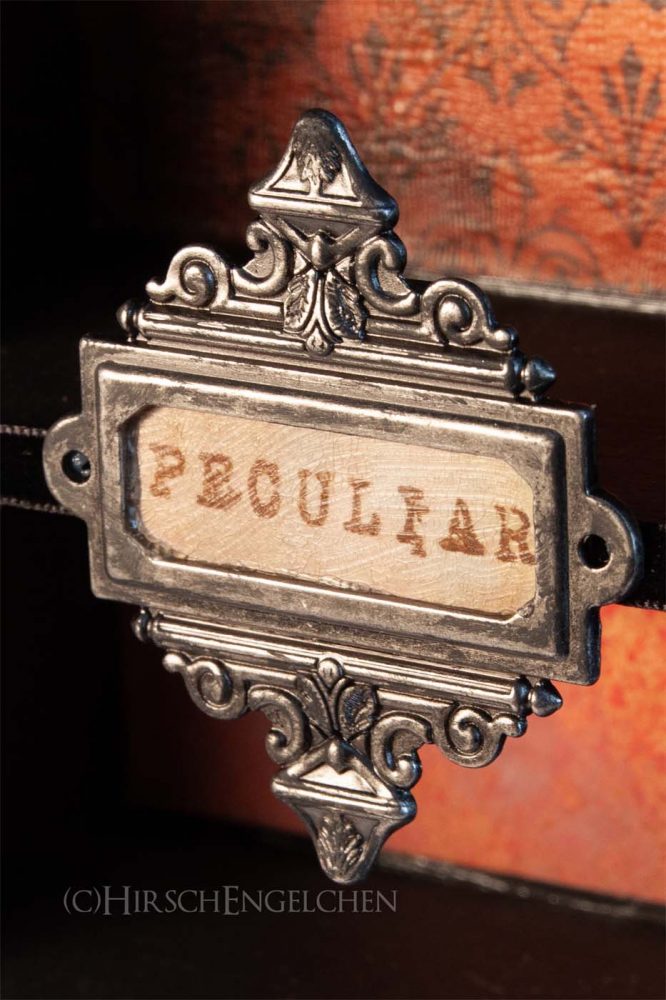
Das ist auch aus der Idea-Ology Collection, mit etwas schwarzer Acrylfarbe abgetönt und mit einem gestempelten Wort gefüllt. Die Struktur über dem Stempelabdruck ist Distress Collage Medium crazing.
This is from Idea-Ology collection, too. I toned it down with some black acrylic paint and filled it with a stamped word. That structure on the stamping is Distress Collage Medium crazing.
Mehr Augen / More eyes
Zum Schluß kam noch das ovale Schild mit dem Auge aus dem Chipboard Baseboards Halloween von Idea-Ology zum Einsatz, das ich ebenfalls mit einem Metallwinkelchen aufgestellt habe.
Finally I added that oval sign with the eye from Idea-Ology’s Chipboard Baseboards Halloween. I used a metal strip again to let it stand upright.

Damit wäre meine Sammlung von Kuriositäten für Fach 3 meiner spooky Halloween Diorama Decoration komplett. Herrlich schräg, oder? 😉
That’s my collection of curiosities for compartment 3 of my spooky Halloween Diorama Decoration. Isn’t it wonderfully wicked? 😉

Beim nächsten Mal geht es weiter mit Zaubersprüchen…
The series will continue with spells and pumpkins…

Material:
Zubehör/Accessories: Idea-Ology · Kleber/Glue: Distress Collage Medium · Spezialmedien/Special media: Distress Grit Paste Translucent · Farben/colors: Finnabair Brilliance Wax, Distress Inks, Rayher Acrylfarben
Und hier die komplette Reihe: / Here’s the complete series:
HirschEngelchen’s Spooky Halloween Diorama Decoration
